
Gluten free baking is HARD, y’all.
I’ve been gluten free for 2.5 years now, and it’s taken me a long time to begin re-creating baked goods that taste just as good, or even better than the glutinous goodies of my past life.
Going Gluten Free
Now, I don’t have Celiacs and I’ve never been tested for a gluten allergy, but for many years I had so many things that just weren’t right with my body. I knew something was off, but doctors could never tell me what it was. Some of the things I experienced, and still experience, are:
- Fatigue
- Digestive issues
- Brain fog
- Psoriasis and other skin issues
- Bloating
- Anxiety
- Joint Pain
- Pain in my joints
- Tingling and white spots in my hands and feet
I tried to go gluten free a few times throughout the years, thinking it might help, but honestly never fully committed to it until I was pregnant with my 3rd baby, Waverly. In the beginning, I got a lot of crap for it, mostly from family who didn’t think that gluten intolerance was a “real thing”. I’m so glad that I finally stuck with it because even though not all of these symptoms have gone away entirely, I’ve seen huge improvements!
The lesson for me here is that each of us knows our bodies better than anyone else. If something feels off, you’re more than likely right, and it might just take some trial and error, along with dedication to try something new, to begin to feel better again.
The Cake
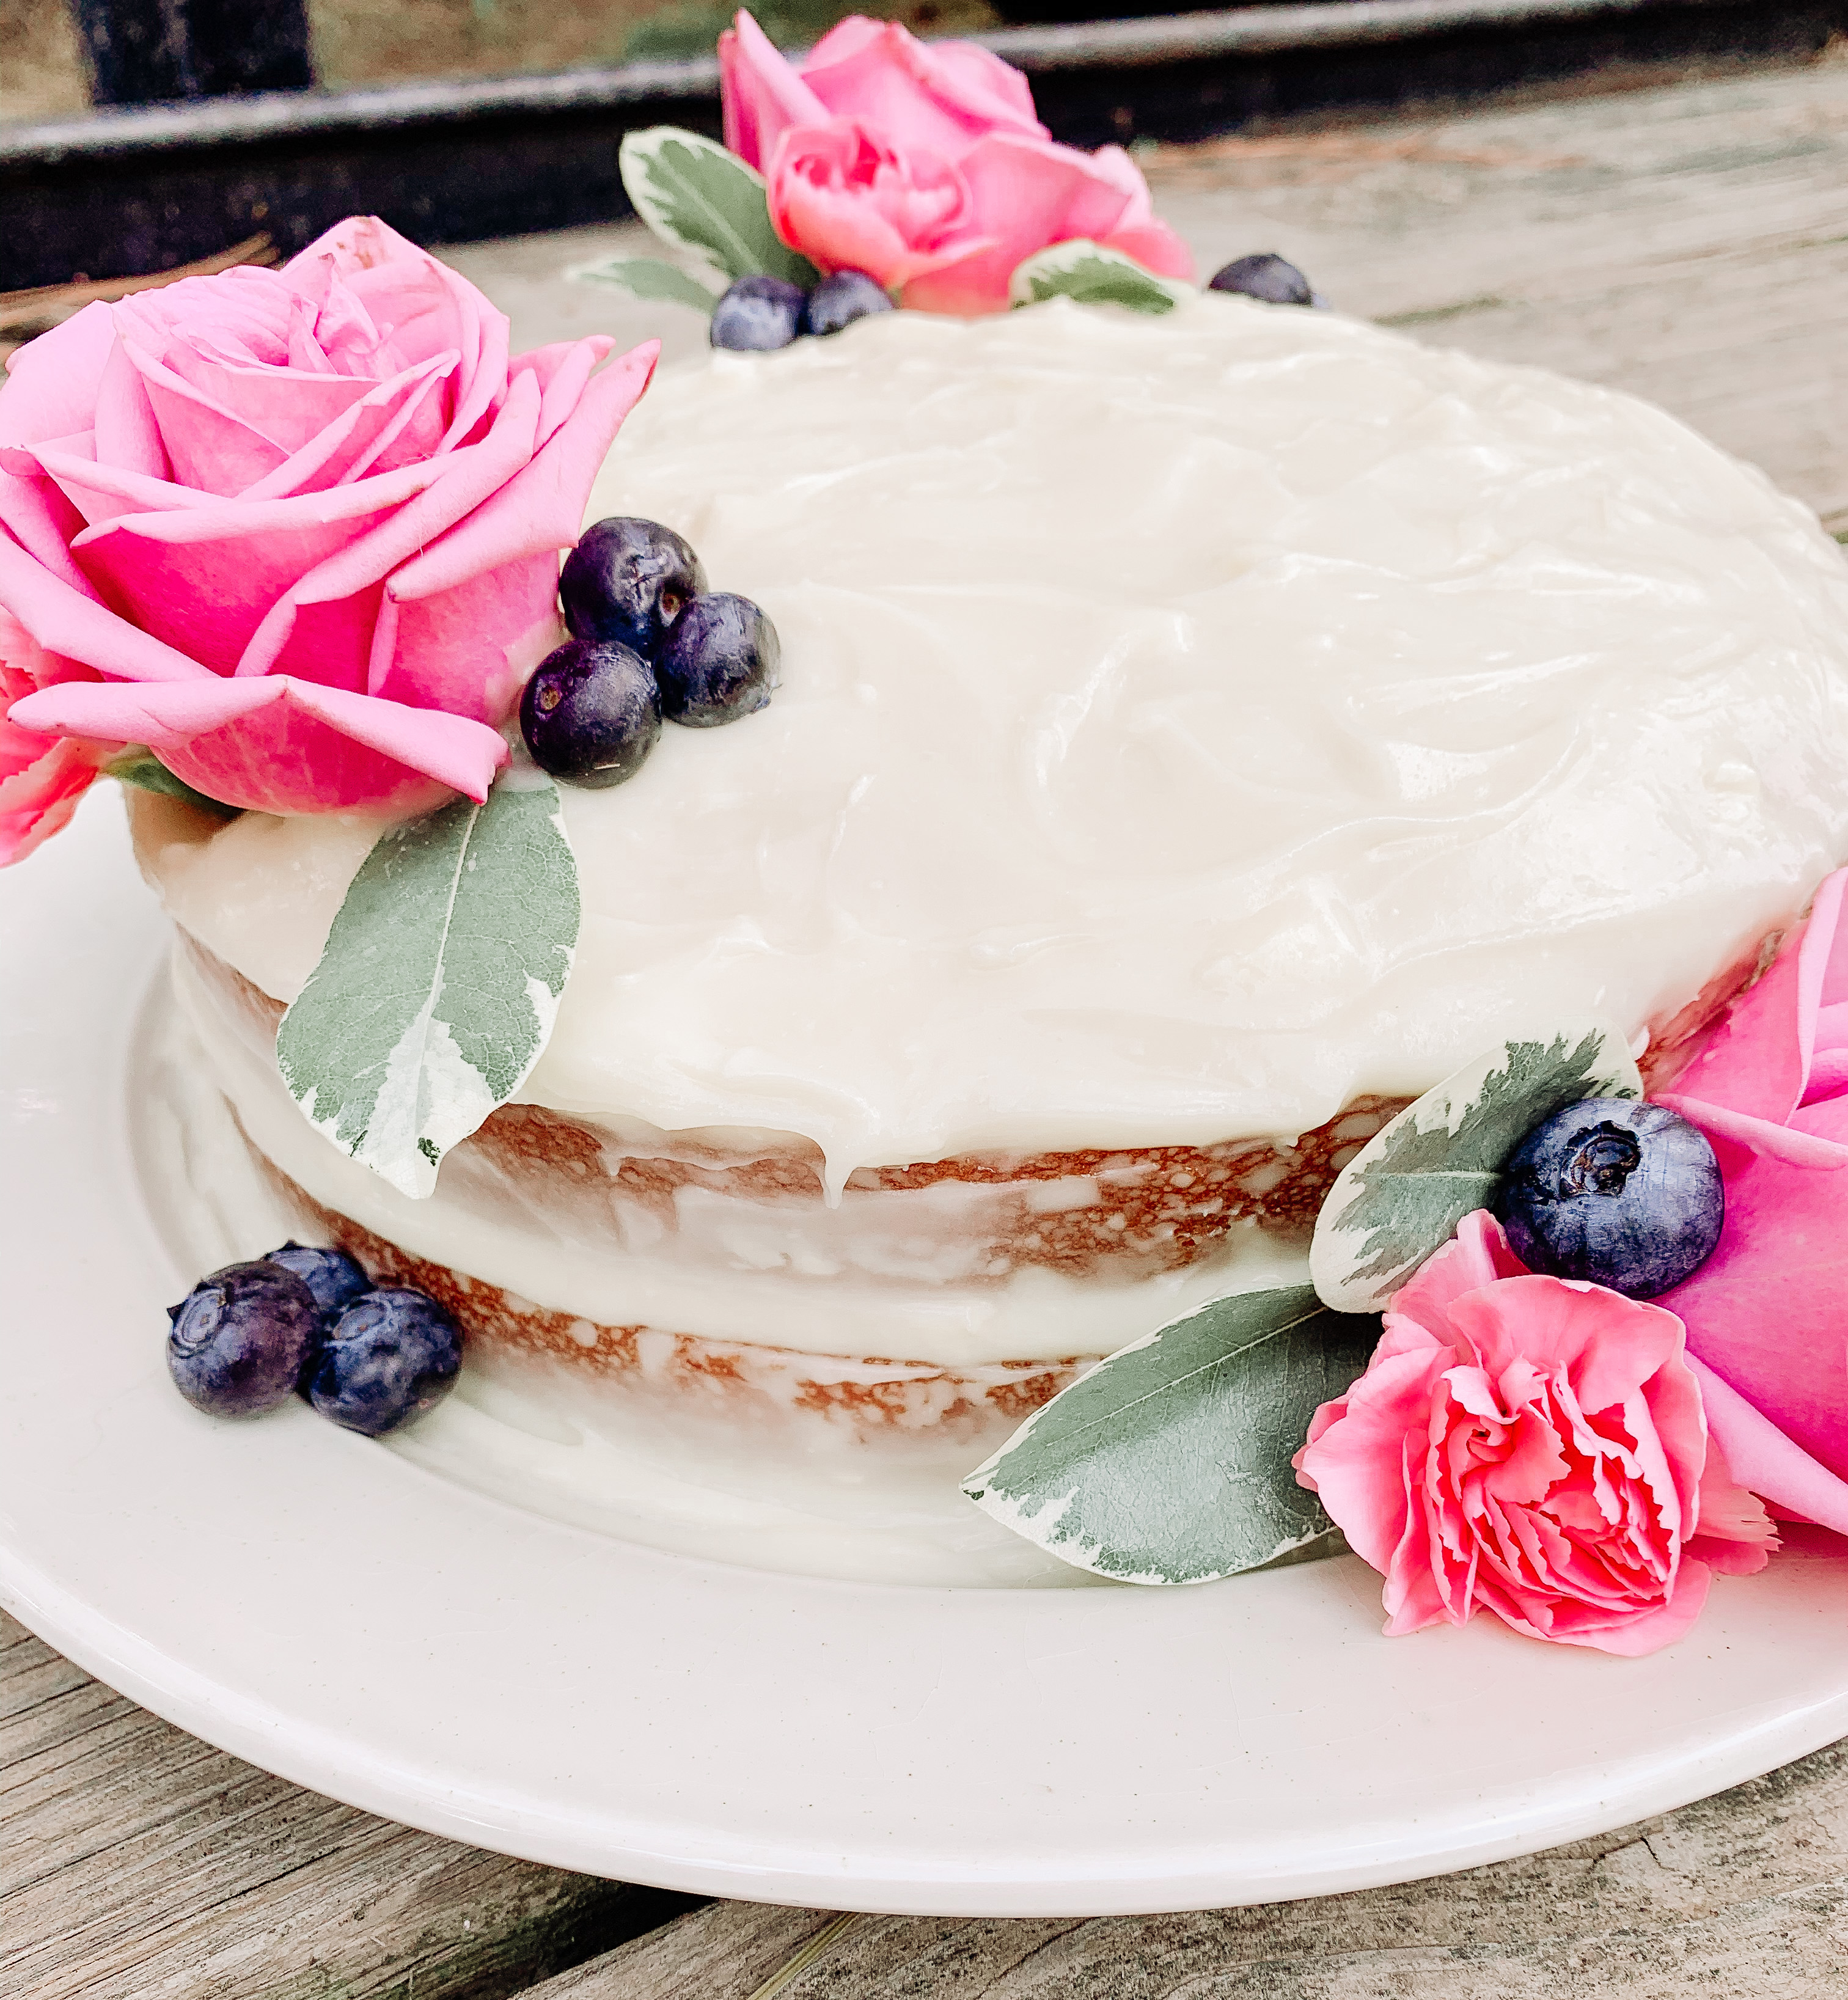
Okay, on to the fun stuff – the cake recipe! I set out to make a simple, yet delicious, gluten free cake for Ellora’s 7th birthday. This cake is light while also being moist. It holds together really well, and bakes beautifully. The icing is sweet, tangy, and adds so much rich flavor to the cake It was gobbled up by everyone – gluten and non-gluten eaters alike!
The Recipe – Gluten Free White Cake
Cake Ingredients
2 1/4 cups + 2 tablespoons all purpose gluten free flour – I used Cup4Cup, and would not recommend subbing with another flour
1/2 teaspoon baking soda
2 teaspoons baking powder
1/2 teaspoon salt
10 tablespoons unsalted butter, at room temperature
1 1/2 cups granulated sugar
1 tablespoon pure vanilla extract
4 egg whites + 1 whole egg, at room temperature
1 1/3 cups buttermilk, at room temperature
How To – The Cake
Preheat your oven to 350°F, and grease 2 8-inch round cake pans with butter. After greasing, line the bottom of each with a round piece of parchment paper
In a medium bowl, sift (don’t leave this out!) the flour, baking soda, and baking powder. Then, add the salt and whisk to combine. Set the dry ingredients aside while you mix the wet it a separate bowl.
In a stand or mixer (or using a handheld mixer), beat the butter, sugar and vanilla on medium-high speed for 3+ minutes. Stop and scrape the mixture off the sides and bottom 2-3 times during those 3 minutes, and mix until very light and fluffy.
In a separate medium bowl, whisk the egg whites, egg, and buttermilk.
Beginning with the dry mixture, alternate adding the dry ingredients and the buttermilk and egg mixture to the large butter and sugar mixture until all are combined. The batter may look a bit curdled at this stage, and that’s totally okay! Once all of the ingredients have been added, beat for another minute on medium speed to ensure that everything is combined. Fold over the batter a few times by hand.
Divide the batter evenly between the two pans, and smooth them down flat. Put the cakes in the center of the oven and bake for 20 minutes. Rotate the pans 180 degrees after 20 minutes, then bake another ~10 minutes, or until the cakes are lightly golden brown, and begin to pull away from the sides of the pan. The center should no longer “jiggle” when it’s done!
Remove the cakes from the oven and cool in the pans for 15 minutes. Then, turn over onto a wire rack to cool. Be sure to cool completely before frosting, or your frosting will melt right off.
The Recipe – Honey Cream Cheese Frosting
Ingredients
2 sticks, or 16 tablespoons, of unsalted butter at room temperature
2 8-ounce sticks of cream cheese at room temperature
2 teaspoons pure vanilla extract
2 tablespoons local honey
3-4 cups confectioners sugar
How To – The Frosting
Using a stand or hand mixer on med-high speed, beat together the butter and cream cheese until whipped and creamy. add in the vanilla and combine. Add in the honey and combine. Add in the confectioners sugar 1/2 cup at a time and mix well after each addition. Stop adding once you have the frosting to the sweetness you like.
Put the frosting in the refrigerator for 1-2 hours to let it firm up a bit. This will make it easier to ice the cake! Don’t leave it in there for too long though, or it will stiffen completely and you’ll need to let it sit out before you can use it to frost the cake.
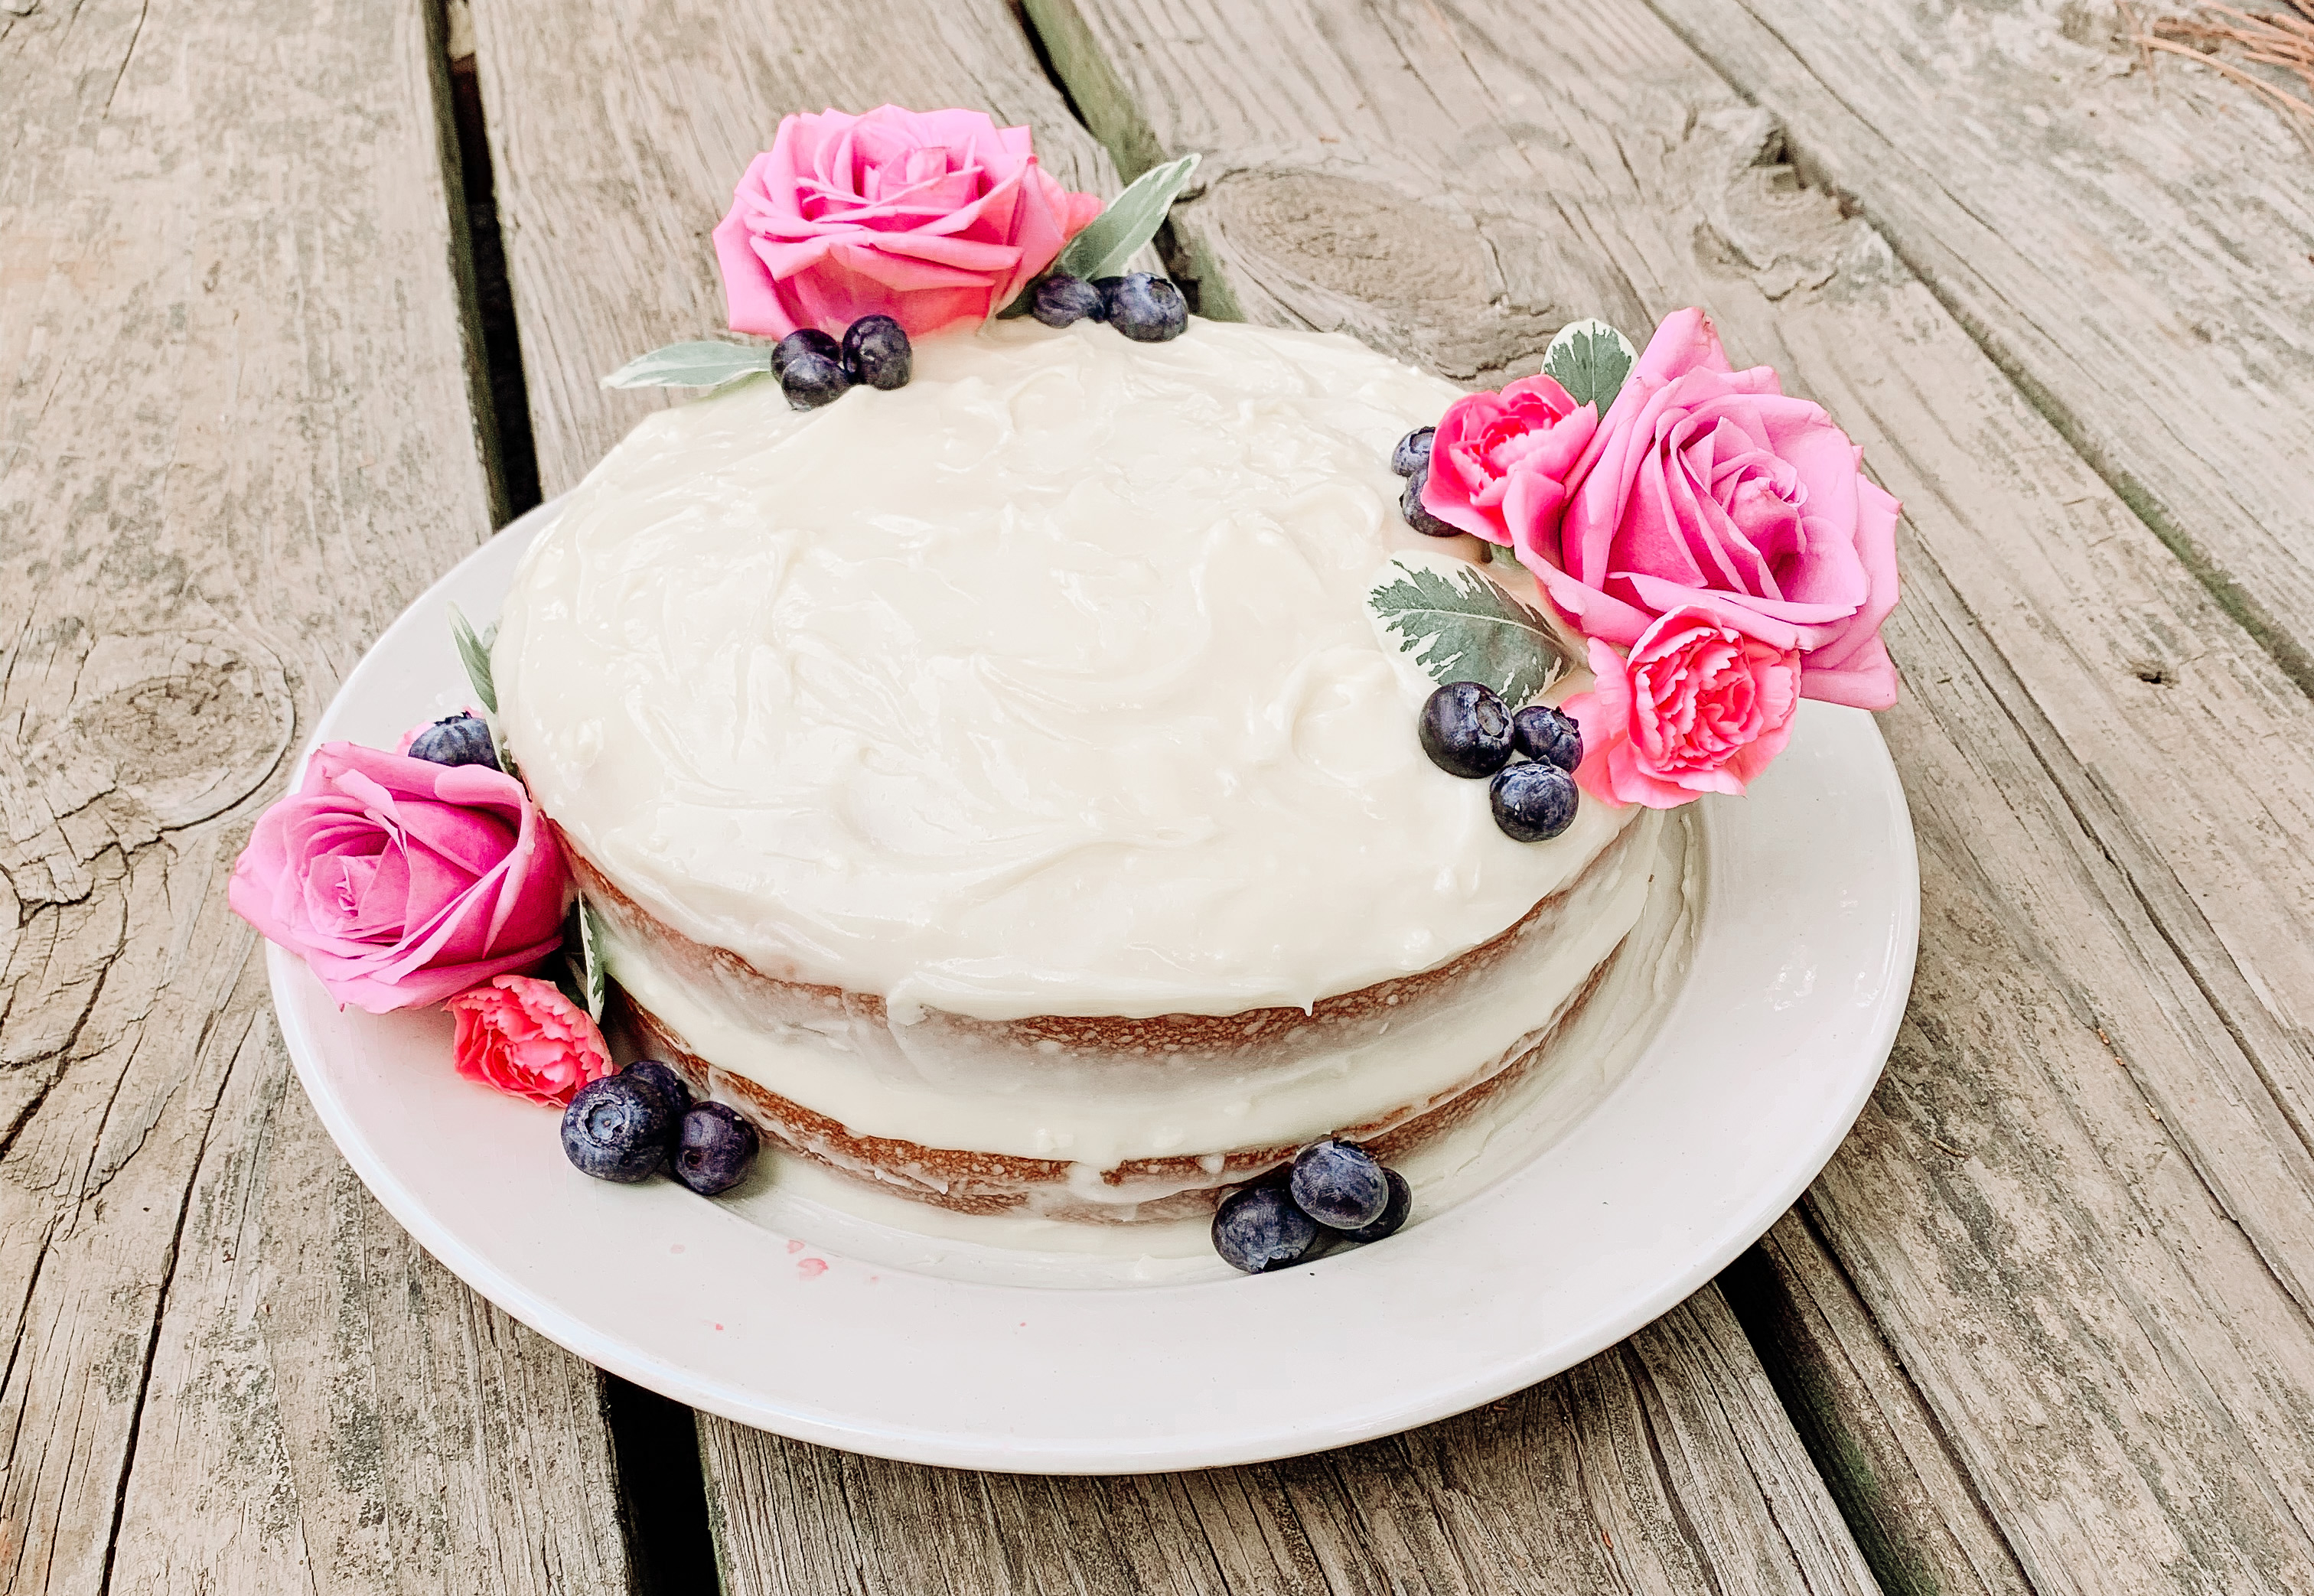
Decorating!
I wanted to keep the decor simple, so I began by frosting the middle of the cake, adding the second layer, and frosting the top of the cake. I then dirty-iced the sides, leaving some of the cake visible for more of a rustic look. Be sure that you add enough frosting that you cover the sides, even if it is a light layer. The icing helps keep the cake moist for longer!
For the flowers, I went out and bought an assortment of pretty, real flowers and greenery from the local grocery, chose and cut the ones that looked the best, and arranged them on the cake. That simple! I added a few blueberries just for fun, but you can use any kind of berry in its place.
I hope y’all enjoy this, and that it bring joy to those you love who can no longer eat gluten! Let me know what you think in the comments.
Lauren
